
Select a product:
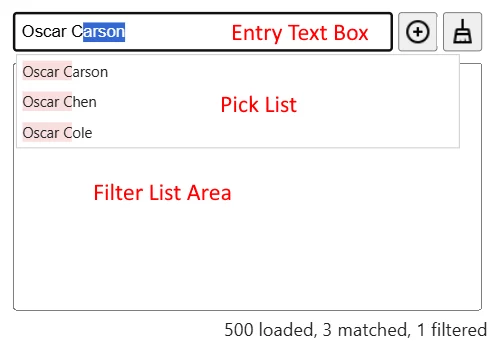
Introduction to Autocomplete
Use Cases
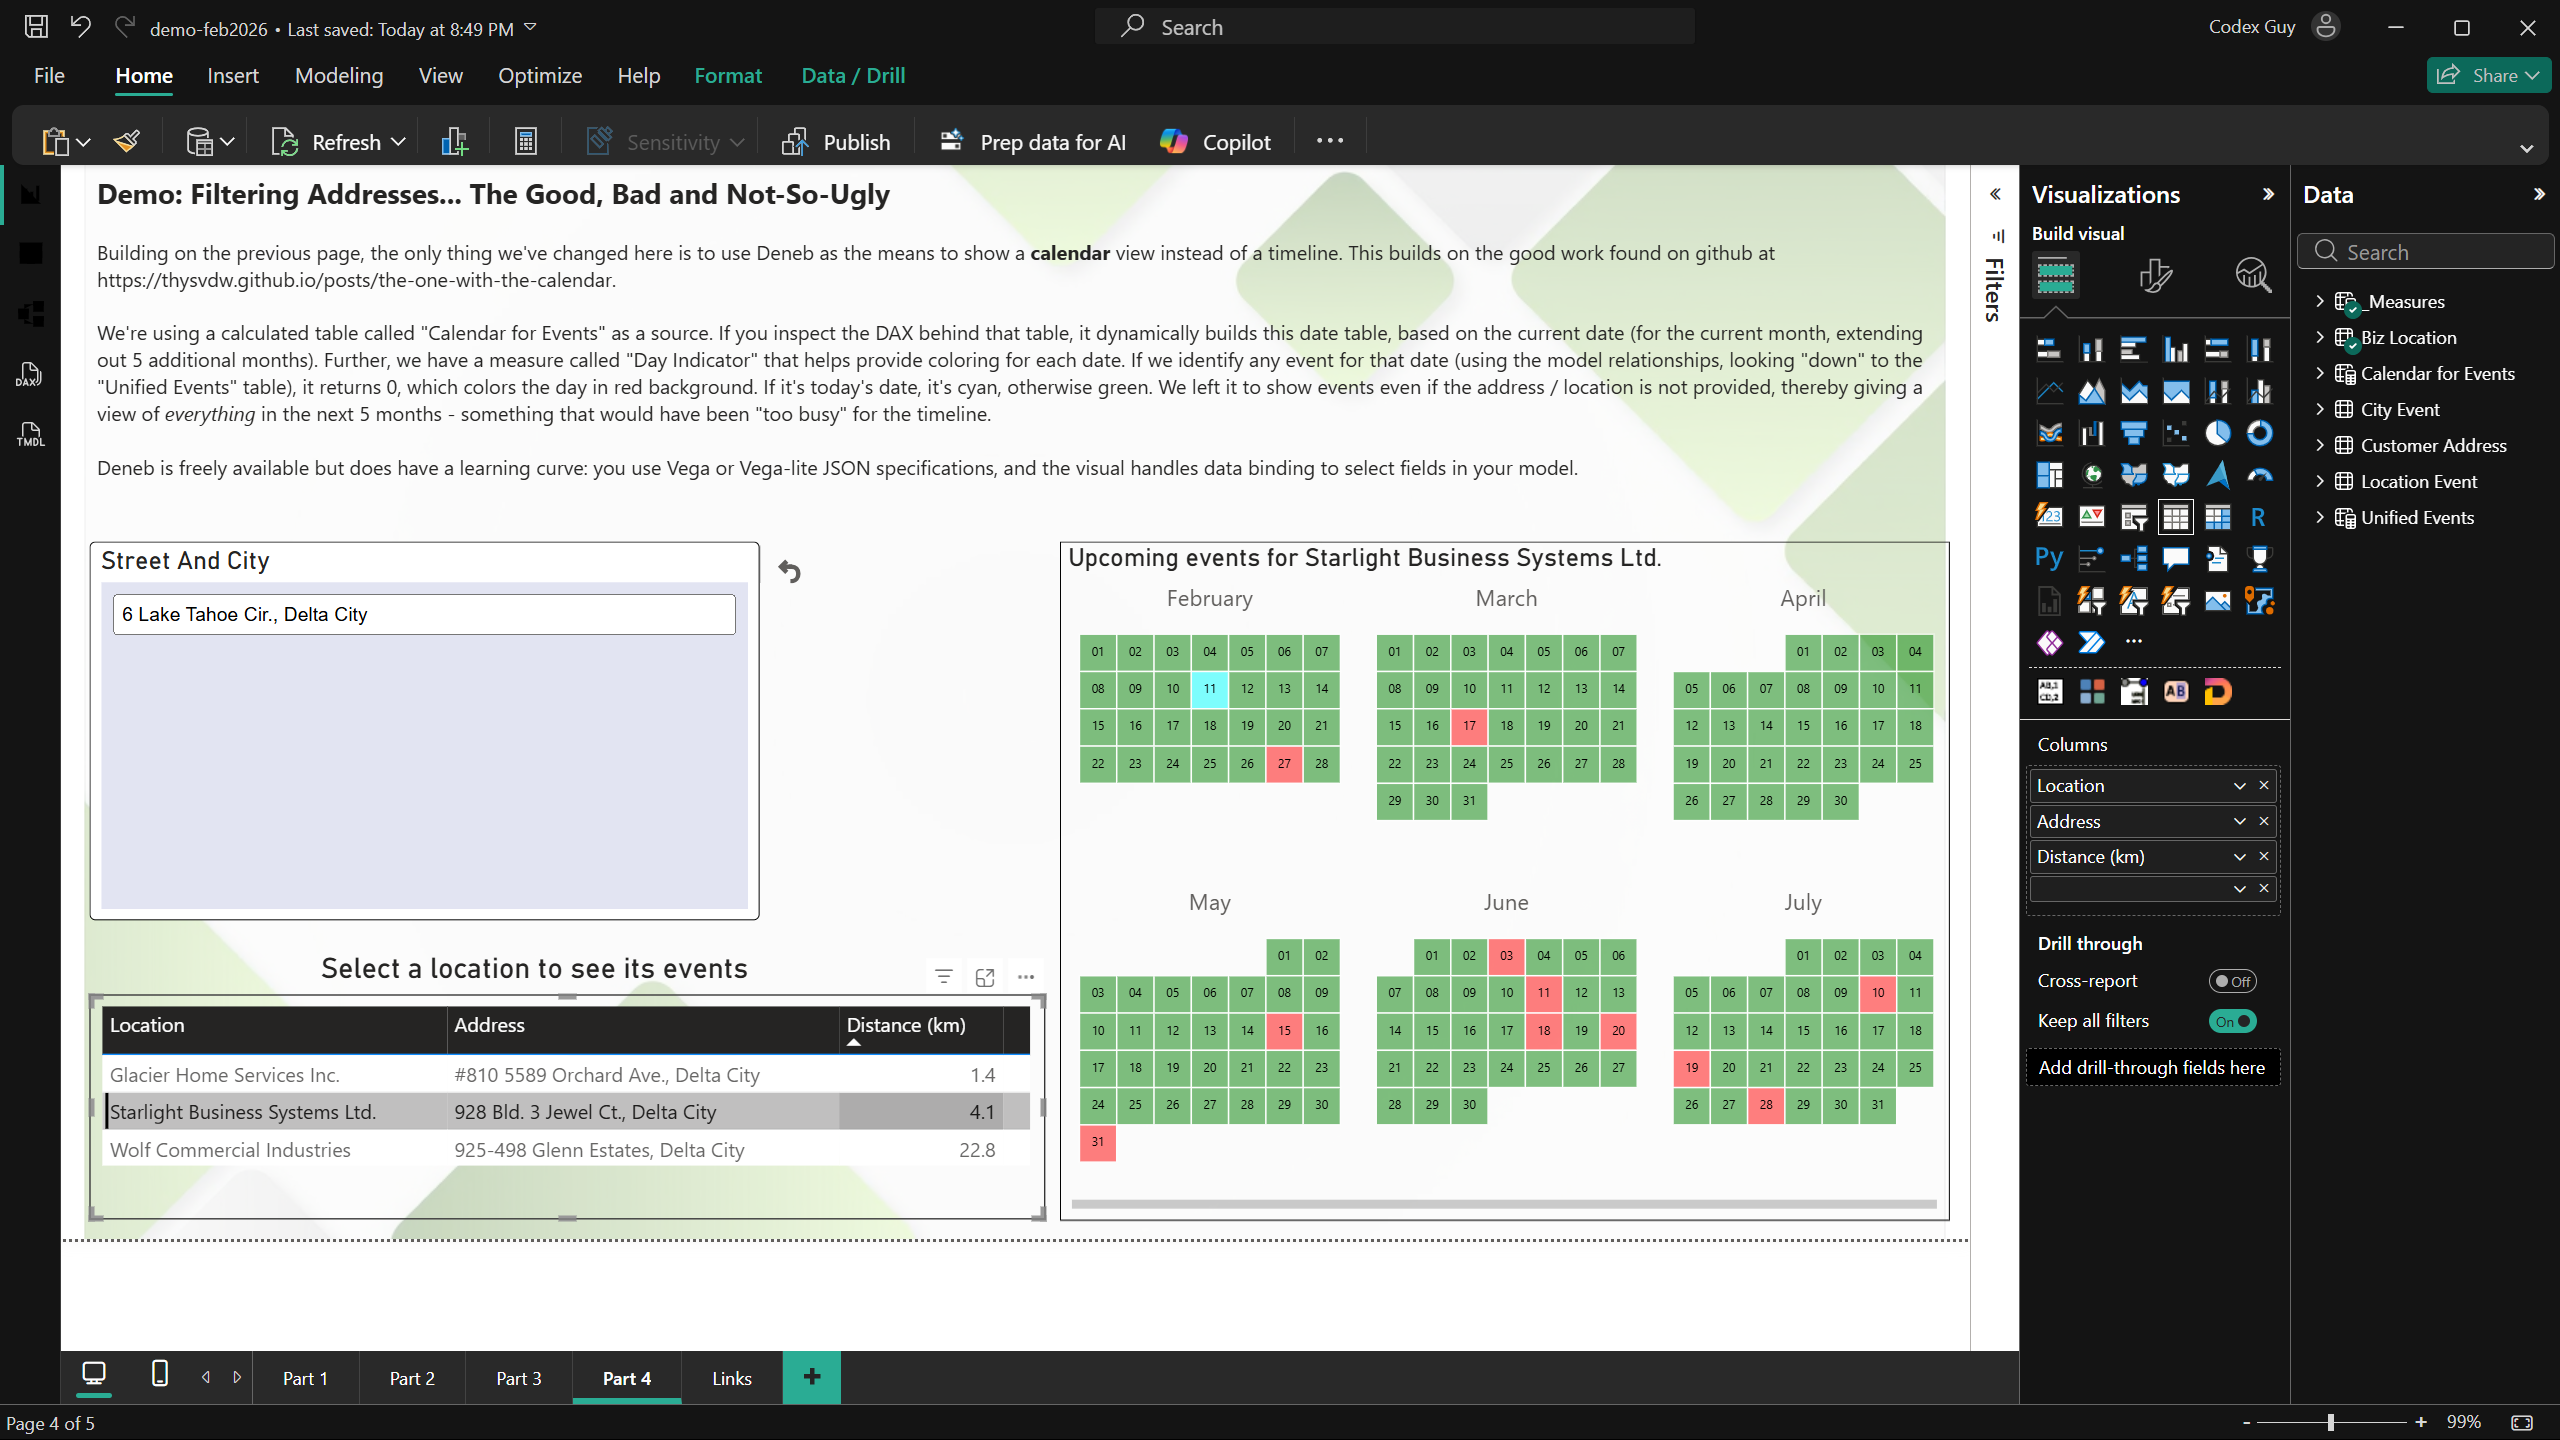
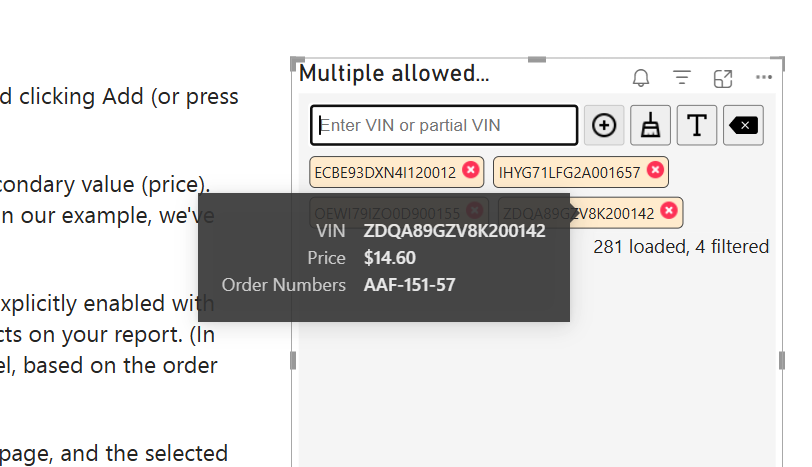
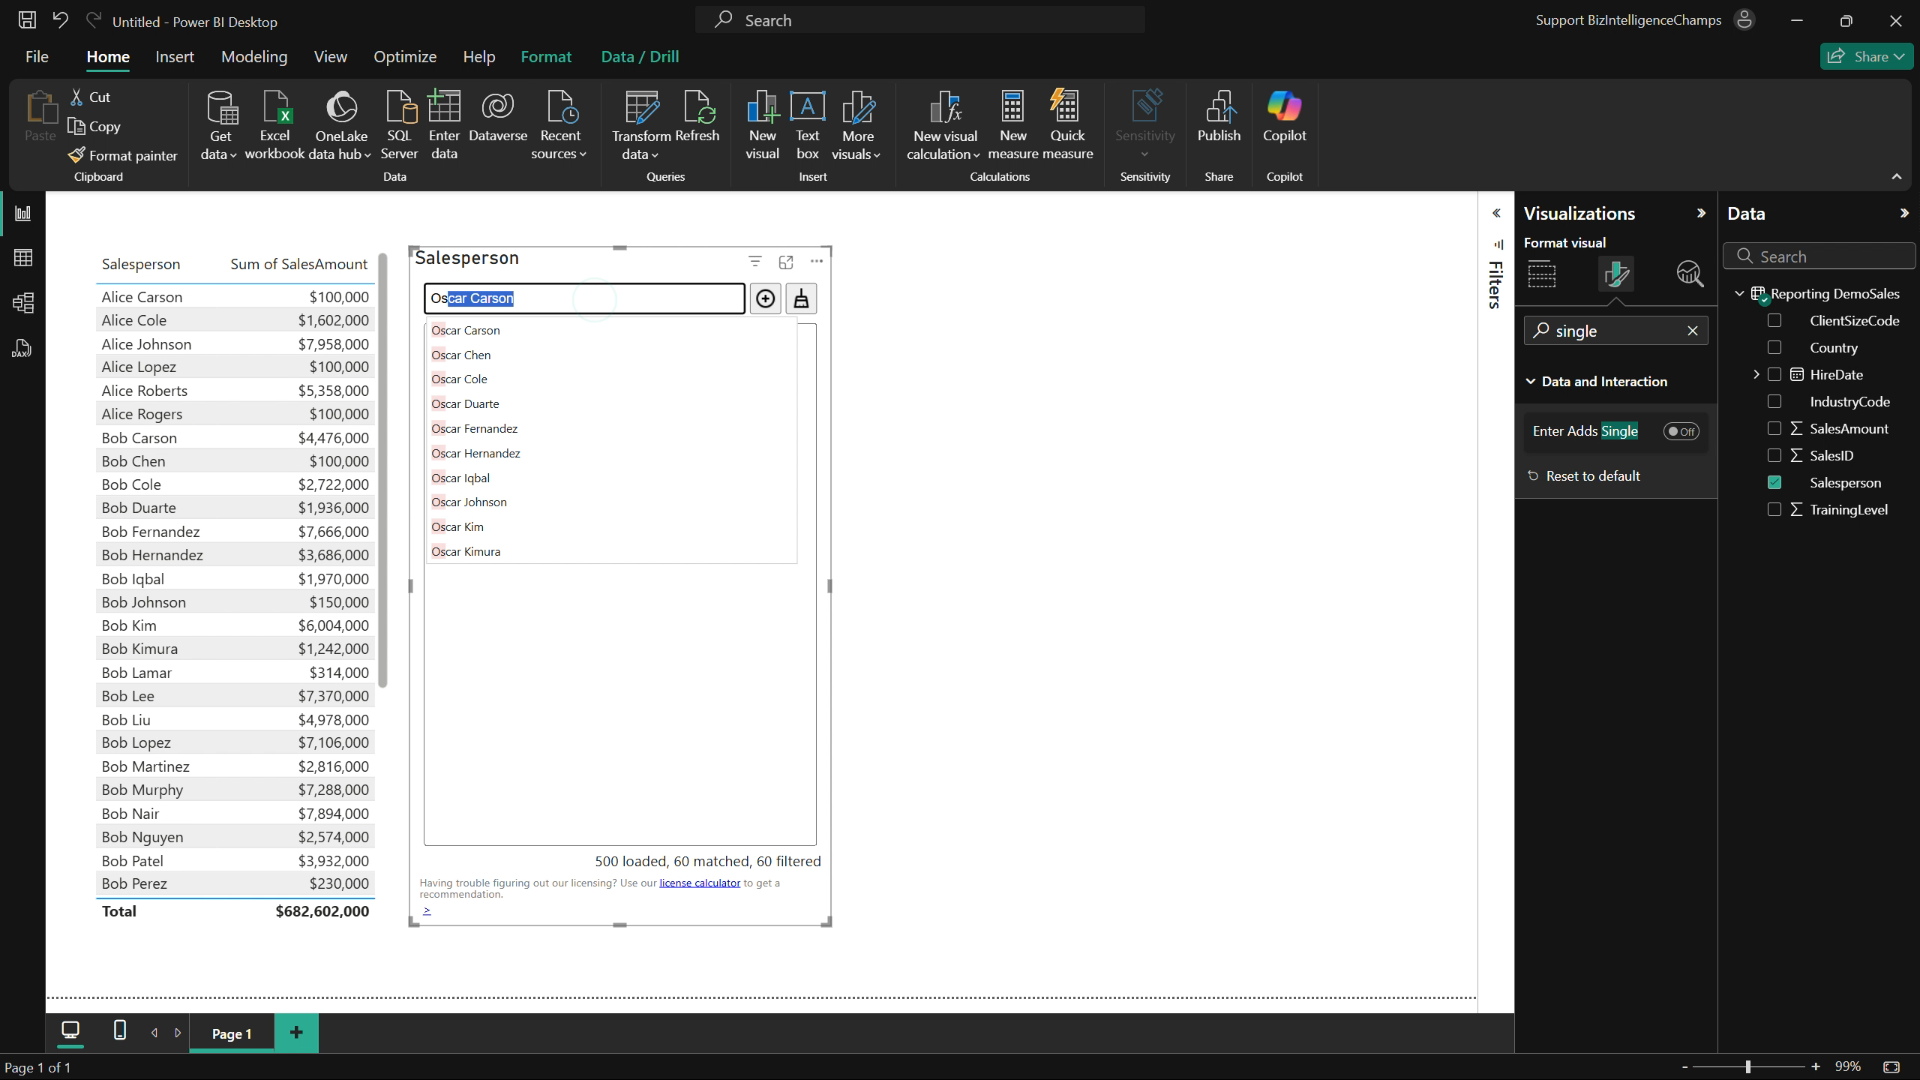
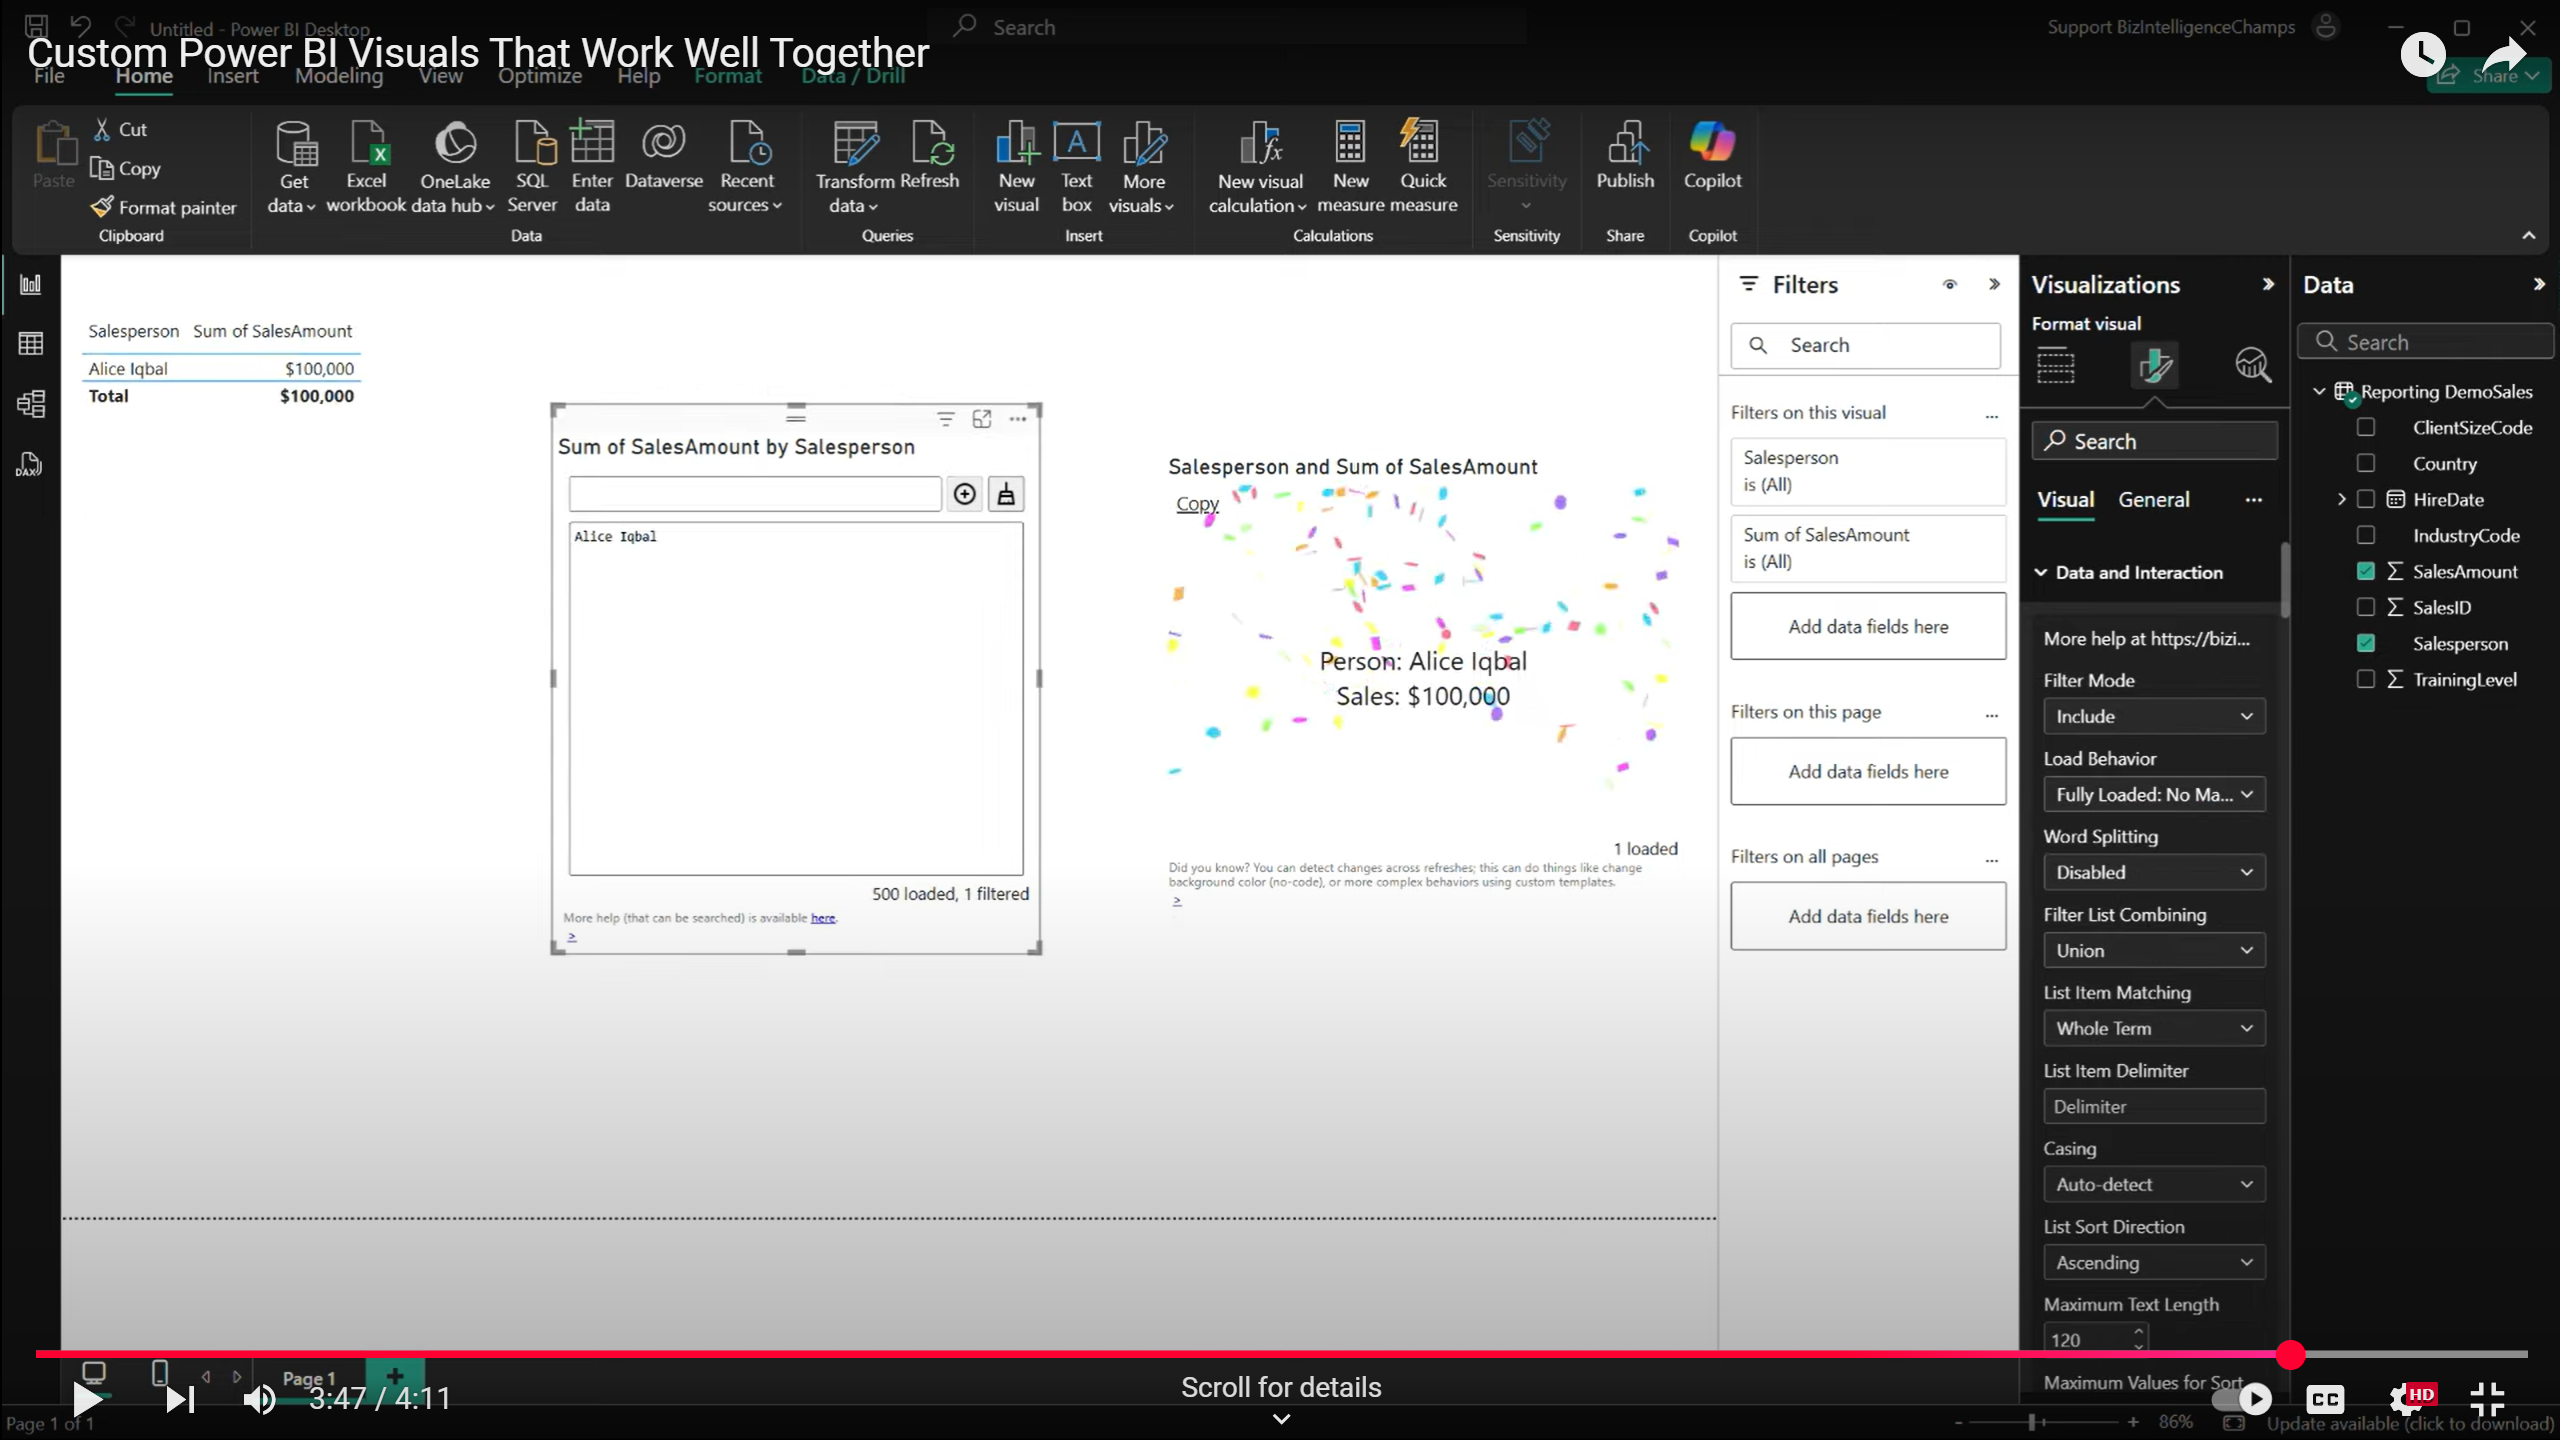
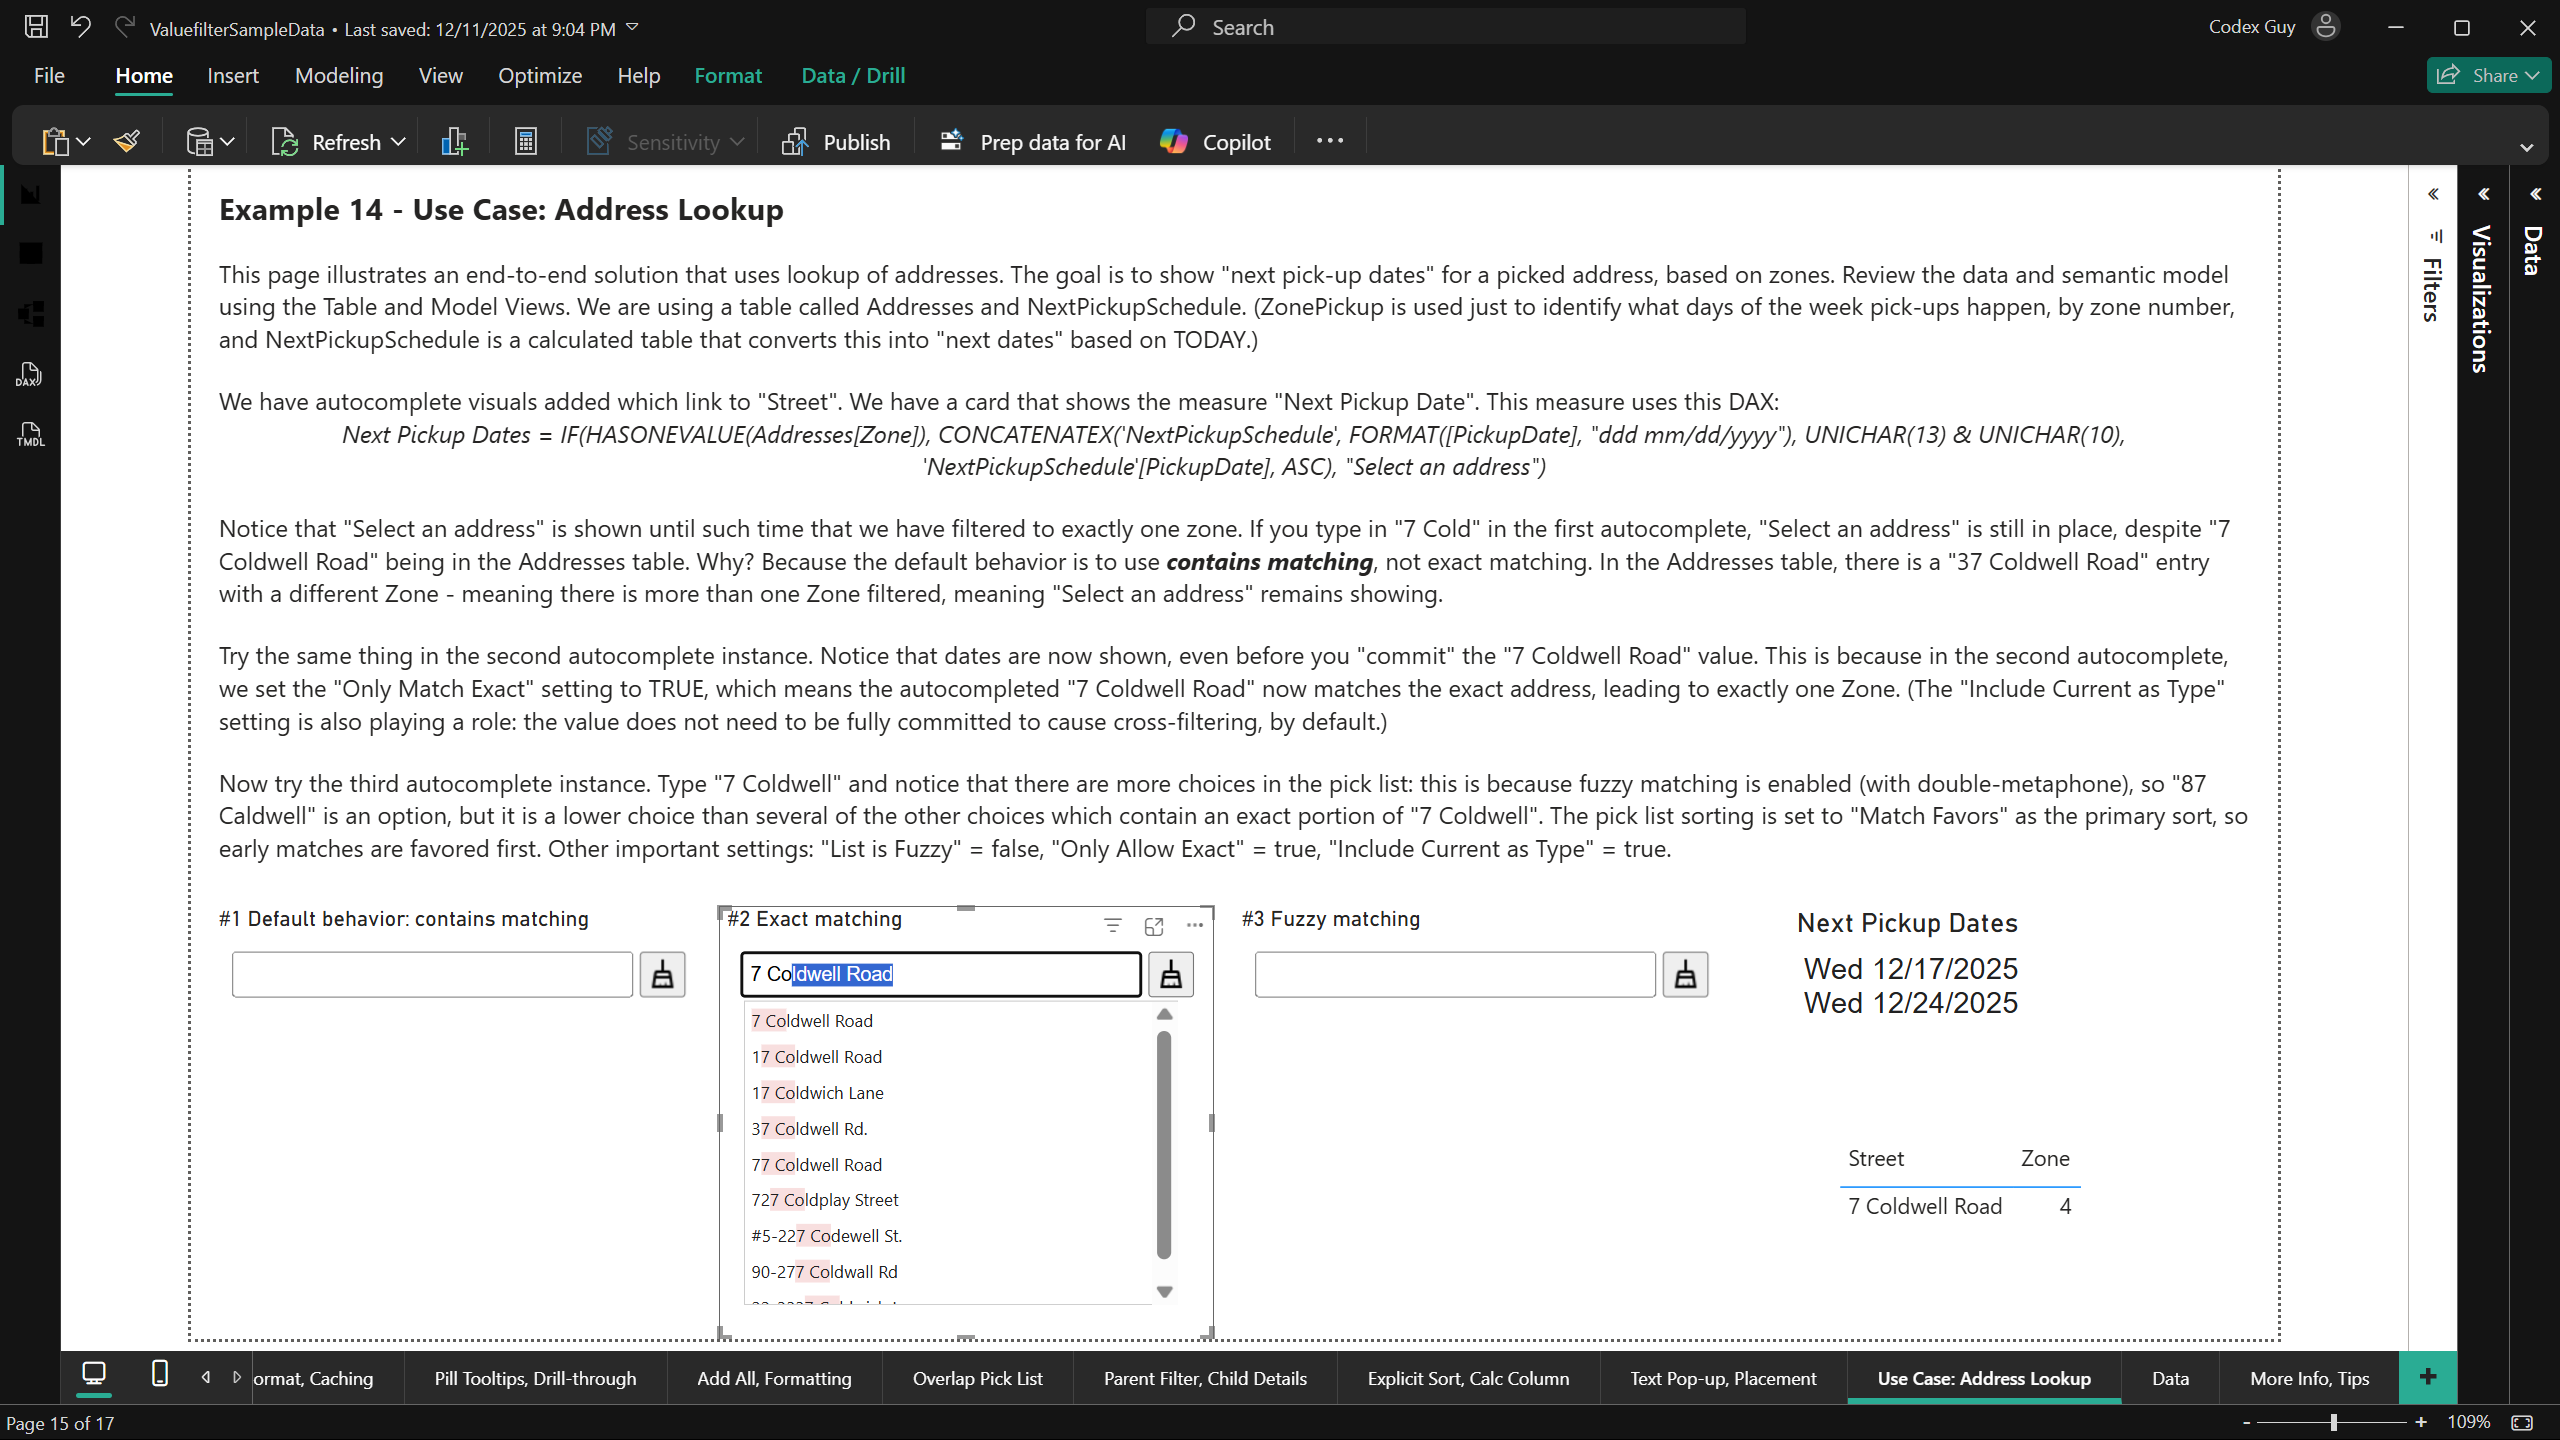
Our sample PBIX file illustrates a number of real-world use cases where Autocomplete makes a difference. If you'd like to see more concrete examples, send us an email and there's a good chance we'll add your scenario to our sample!
New in version 6.0: per-term operators, match reasons, a paste report, Also Search, quick picks, Copy as DAX and more. See New in Version 6.0, further down this page.
Useful Settings
Definitions
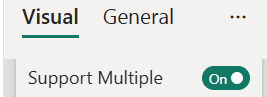
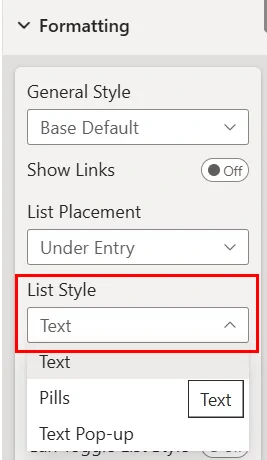
Select Single or Multiple? Filter Styles.
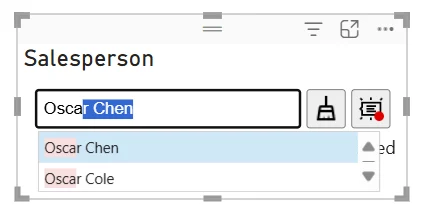
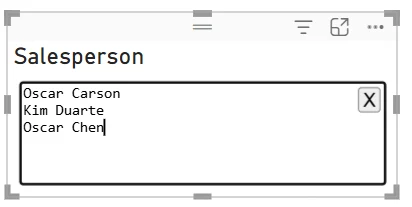

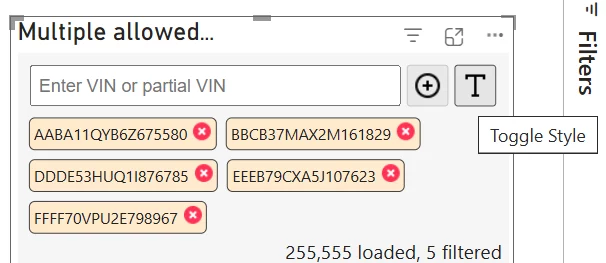
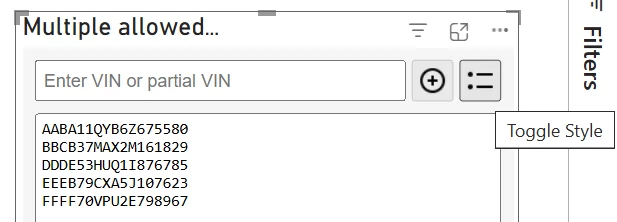
Filtering Behavior and Entry


Buttons / Links




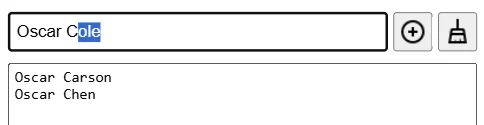
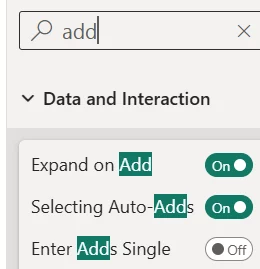
- Add Current: Adds value currently in the entry text box to the filter area. How the add is performed is controlled by settings such as 'Retain Partial Match on Add' and 'Expand on Add'.
- Reset: (aka 'Clear''.) Clears any current filters. (Both in the entry text box and filter list.)
- Can Toggle Show Blanks: When enabled, shows a toggle button that switches between including or excluding blank values in the filter.
- Can Toggle List Style: When enabled, shows a toggle button that switches between presenting the filter list as an editable text area or a set of read-only text values.
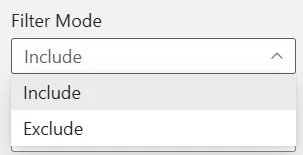
- Can Toggle Include Exclude: When enabled, shows a toggle button that switches from including the filter items to excluding them.
- Add All: When enabled and there are source values loaded into the visual, shows a button that will take all distinct source values and place them in the filter list. This can be used to identify source values that are 'currently filtered' based on report cross filters.
- Get List: When enabled, a button is shown that, when clicked, brings up the pick list. (As opposed to requiring typing of new values in the entry text box to bring up the pick list.)
- Copy Clipboard: This button, when clicked, copies all values in the filter list to the clipboard.
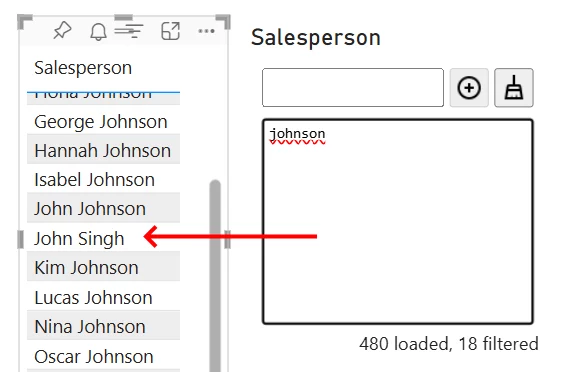
Using Multiple Filter Terms
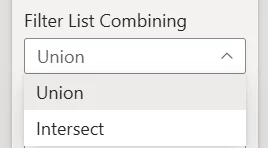
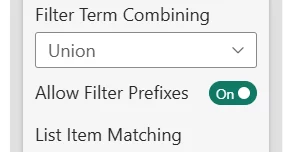
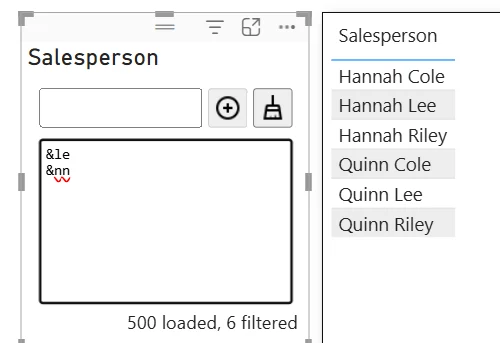
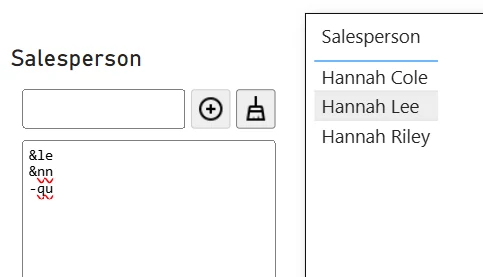
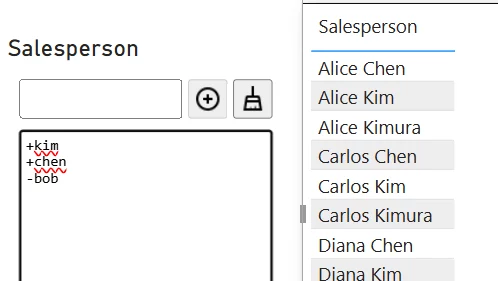


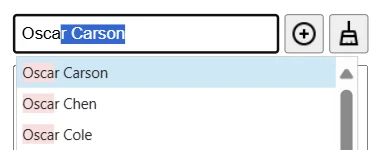
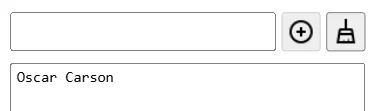
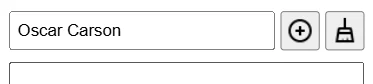

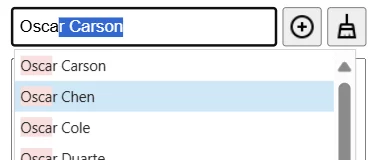
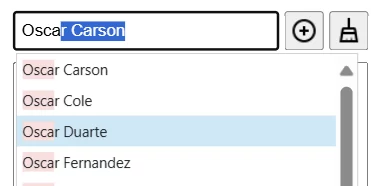
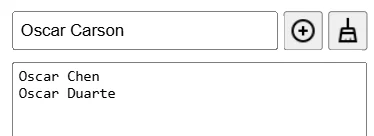

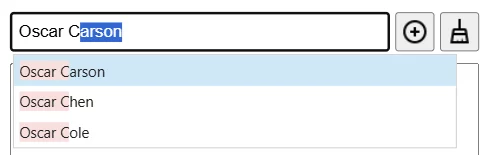
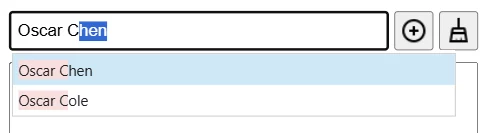



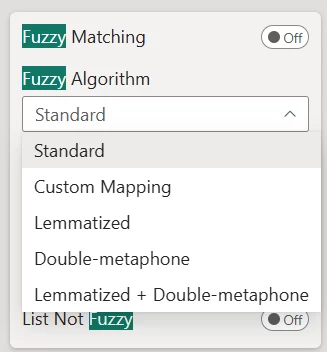
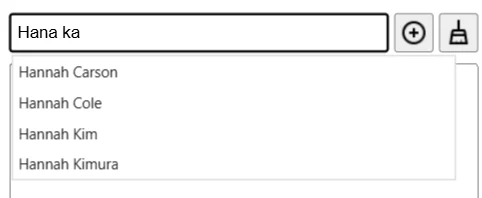
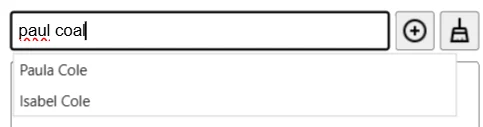
Matching Algorithms


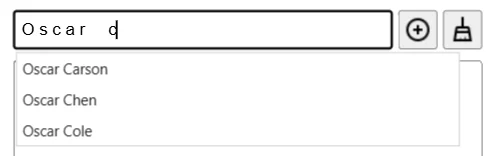

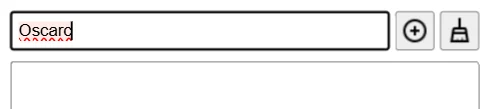
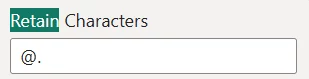

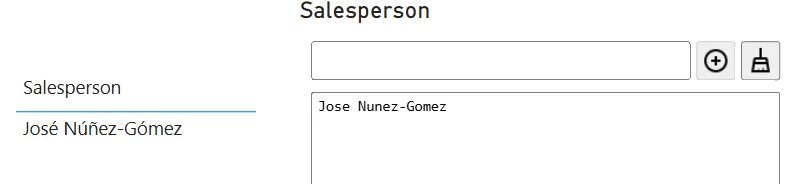

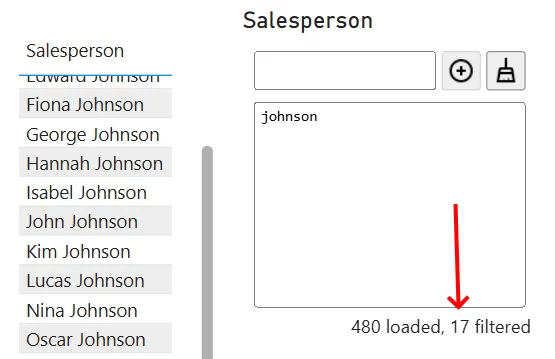
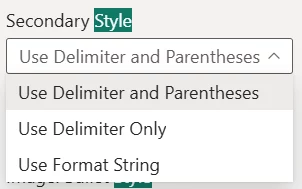
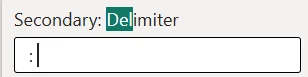
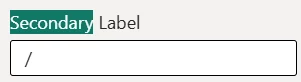
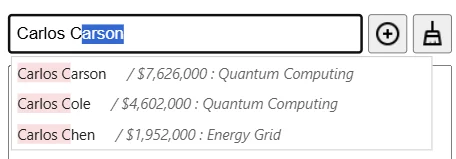
Secondary Values
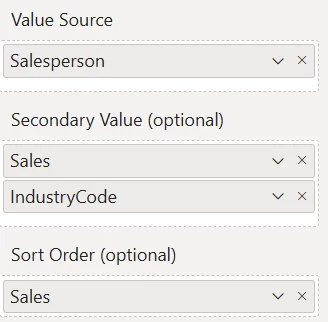
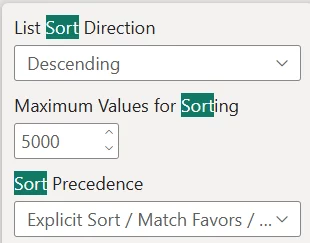
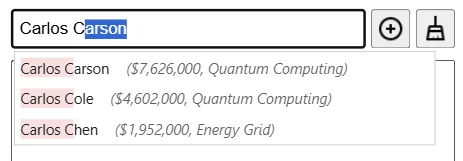
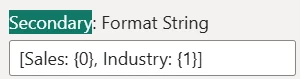
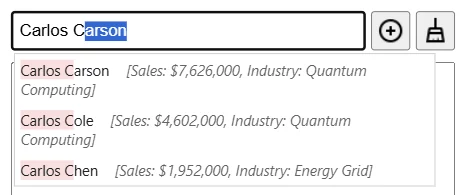
Multiple Value Source Fields
Things to Know
- All Value Source fields must come from the same table. If fields span tables, the visual shows a warning and does not filter until the configuration is corrected.
- Exclude mode is not supported with multiple value fields (Power BI tuple filters only support inclusion). The visual shows a warning if exclude mode is active; switch to include mode to apply the filter. With a single field, exclude mode continues to work as before.
- The order of fields in the well defines the order of values in the combined string. Reordering, adding, or removing fields rebuilds the visual's search index automatically.
- Choose a 'Value Separator' that doesn't naturally occur inside your data values - it keeps the combined strings readable and unambiguous in the pick list.
- The 'Filter Default' field (when used) matches against the combined string, not the individual field values.
- Removing extra fields (back to a single field) returns the visual to its standard single-column filtering behavior with no other changes needed.
- Dragging a hierarchy into Value Source no longer produces drill-down arrows (a change from 5.1 and earlier). The hierarchy's levels are treated as multiple value fields and combine into a single lookup string, subject to the same 4-field limit.
Layout Options
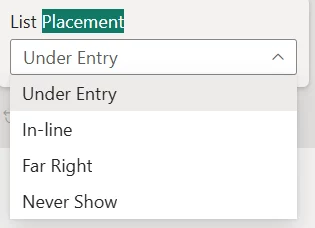
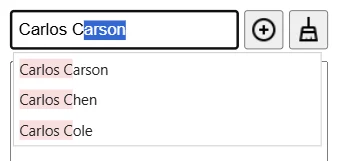
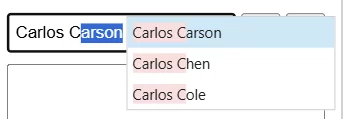
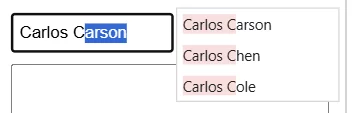
Did you know? The Autocomplete visual can look like a lot more than a plain search box. Both pictures below are the same visual on the same data: the first uses the defaults, and the second changes only the formatting settings listed underneath. No theme file or custom code is involved.

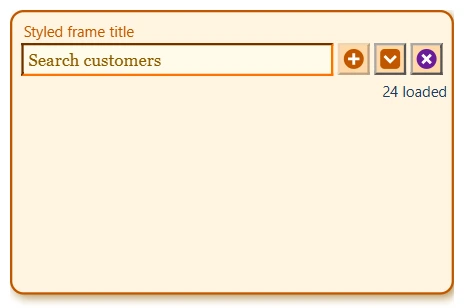
The settings used, grouped the way the format pane shows them:
- Colors → General & Background: 'Text Color' #1F3A5F, 'Status Message Color' #6A1B9A, 'Background Color' #FFF4E0, 'Background Opacity' 100.
- Colors → Entry & List Areas: 'Entry Background Color' #FFFBEA, 'Entry Border Color' #C05600, 'Placeholder Text Color' #8A5A00, 'Filter Background Color' #FFFBEA.
- Colors → Buttons, Links & Pills: 'Button Background Color' #FFD8A8, 'Links Color' #C05600, 'Pill Background Color' #FFE8CC.
- Formatting → Fonts & Sizes: 'Entry Font' and 'Filter Font' Georgia, 'Entry Text Size' 15, 'Filter Text Size' 13.
- Formatting → Virtual Frame: 'Virtual Height' 250; 'Frame Title' on, with 'Frame Title Text' Styled frame title, 'Frame Title Font Size' 13 and 'Frame Title Color' #C05600; 'Frame Border Width' 2 and 'Frame Border Color' #C05600; 'Frame Corner Radius' 12; 'Frame Shadow' on, with 'Shadow Color' #8A5A00, 'Shadow Blur' 8 and 'Shadow Distance' 4.
- Formatting → Button Image Overrides: 'Image: Add', 'Image: Reset' and 'Image: Down', each set to one of the images below. The drop-down button only appears when 'Show Get List Button' is on, under Formatting → Display & Layout.
The three button images, ready to paste
Each image setting takes text that starts with data:image/. These are small SVG icons in the colors above.
- 'Image: Add':
data:image/svg+xml;base64,PHN2ZyB4bWxucz0naHR0cDovL3d3dy53My5vcmcvMjAwMC9zdmcnIHdpZHRoPScxNicgaGVpZ2h0PScxNicgdmlld0JveD0nMCAwIDE2IDE2Jz48Y2lyY2xlIGN4PSc4JyBjeT0nOCcgcj0nNycgZmlsbD0nI0MwNTYwMCcvPjxwYXRoIGQ9J004IDR2OE00IDhoOCcgc3Ryb2tlPScjZmZmJyBzdHJva2Utd2lkdGg9JzInLz48L3N2Zz4= - 'Image: Reset':
data:image/svg+xml;base64,PHN2ZyB4bWxucz0naHR0cDovL3d3dy53My5vcmcvMjAwMC9zdmcnIHdpZHRoPScxNicgaGVpZ2h0PScxNicgdmlld0JveD0nMCAwIDE2IDE2Jz48Y2lyY2xlIGN4PSc4JyBjeT0nOCcgcj0nNycgZmlsbD0nIzZBMUI5QScvPjxwYXRoIGQ9J001IDVsNiA2TTExIDVsLTYgNicgc3Ryb2tlPScjZmZmJyBzdHJva2Utd2lkdGg9JzInLz48L3N2Zz4= - 'Image: Down':
data:image/svg+xml;base64,PHN2ZyB4bWxucz0naHR0cDovL3d3dy53My5vcmcvMjAwMC9zdmcnIHdpZHRoPScxNicgaGVpZ2h0PScxNicgdmlld0JveD0nMCAwIDE2IDE2Jz48cmVjdCB4PScxJyB5PScxJyB3aWR0aD0nMTQnIGhlaWdodD0nMTQnIHJ4PSczJyBmaWxsPScjQzA1NjAwJy8+PHBhdGggZD0nTTQgNmw0IDQgNC00JyBzdHJva2U9JyNmZmYnIHN0cm9rZS13aWR0aD0nMicgZmlsbD0nbm9uZScvPjwvc3ZnPg==
Two tips. 'Virtual Height' sets how tall the frame is drawn: 250 pixels gives the roomy card shown here, and a smaller value gives a compact one. Size the visual itself a little taller than the frame, so the suggestion list has room to open below it. And when you use a frame, turn off the visual's own General → Effects → Background and Visual border, so the frame is the only card you see.
Other Advanced Features

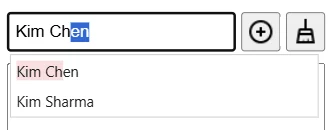
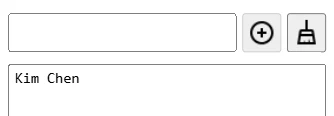
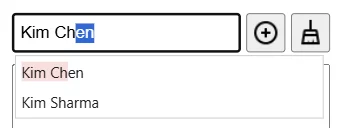
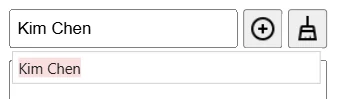
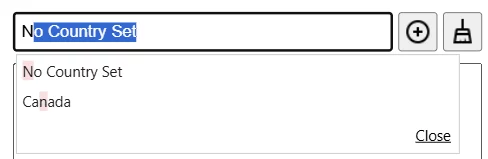
New in Version 6.0
Version 6.0 lets one list mix match rules, shows why a suggestion matched, checks a pasted list, searches several columns from one box, and keeps searches one click away. It is an in-place upgrade: reports that use the visual pick it up automatically, and no setting was renamed or removed. Most of it stays out of sight until you switch it on; the few things that do change are listed under What Changes When You Upgrade from 5.x.
- Per-term operators — exact, starts-with, ends-with, fuzzy and exclude terms side by side in one list.
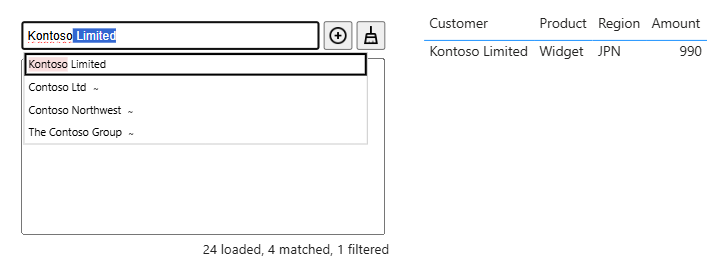
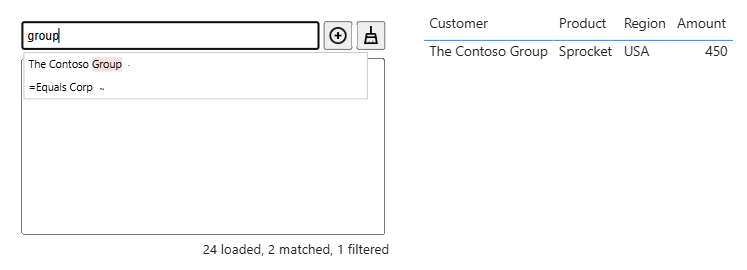
- Match reasons — a small mark says why a sounds-like, close-spelling or whole-word suggestion is in the pick list.
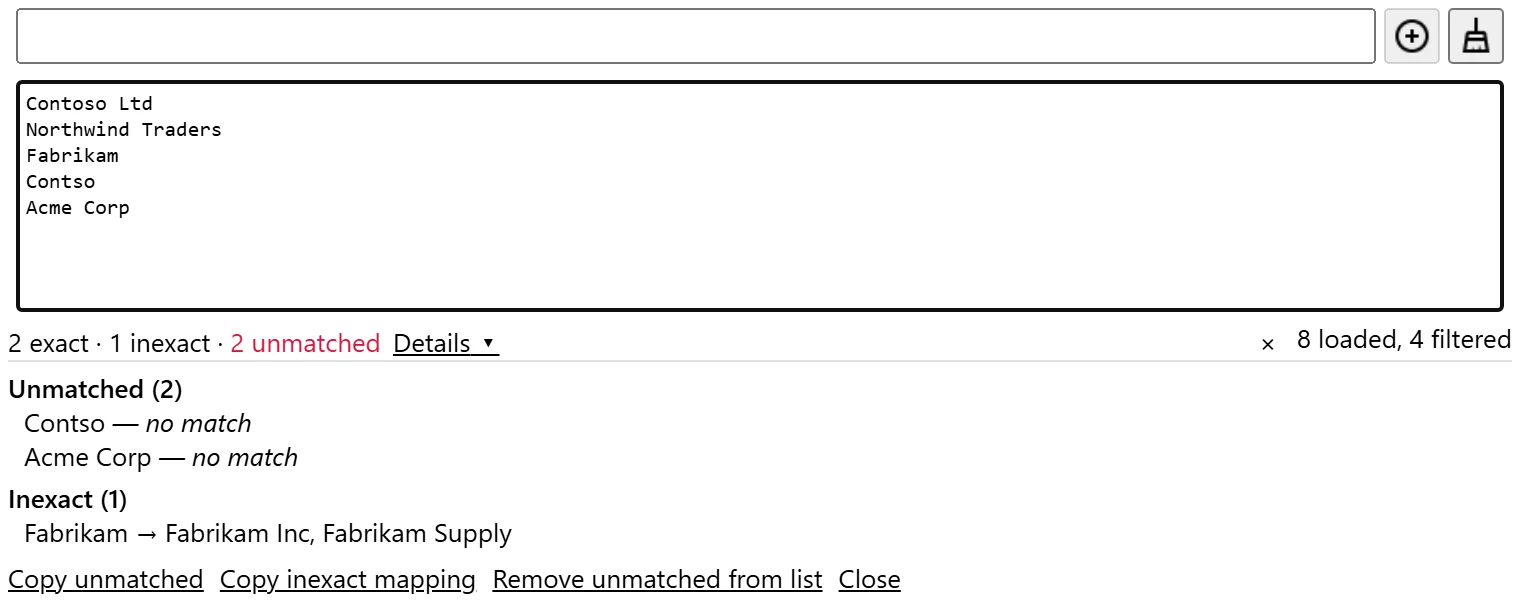
- Paste report — after pasting a list, see which terms matched exactly, inexactly or not at all.
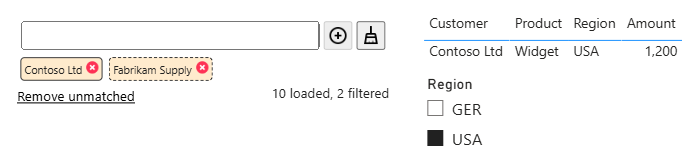
- Unmatched terms — spot selections that match nothing under the report's other filters.
- Also Search — one box that searches several columns and filters the one that matched.
- Quick picks and recent searches — named term sets and each viewer's recent searches, one click away.
- Copy as DAX — take the applied filter straight into a measure.
- Accessibility — screen readers, keyboard-only use, reduced motion and contrast.
- Power Search styling presets — the new search features in one step.
Per-term Operators
| Write | Meaning | Example |
|---|---|---|
= | Exact value | =Contoso Ltd matches that customer only, not every name that contains it. |
^ | Starts with | ^Contoso matches Contoso Ltd and Contoso Northwest, but not The Contoso Group. |
$ | Ends with | $Group matches The Contoso Group. |
~ | Fuzzy, for this term | ~kontoso filters by fuzzy matching even while 'List Not Fuzzy' keeps the other terms literal. 'Fuzzy Matching' must be on; with a sounds-like 'Fuzzy Algorithm' such as Double-metaphone it finds Kontoso Limited and the three Contoso customers. |
- | Exclude | -The Contoso Group removes it from what the other terms match. |
+ & | Union, intersect | Exactly as since version 3.2. |
"…" | No operators | "-5 Discount" is searched as ordinary text instead of being read as an exclusion (it finds -5 Discount Co). |
| Combined | Exclude, with a match rule | -=Contoso Ltd excludes exactly that value; -^Contoso excludes every value that starts with Contoso. |
Contoso, -The Contoso Group and =Northwind Traders in one list filter to Contoso Ltd, Contoso Northwest and Northwind Traders: everything containing Contoso, minus The Contoso Group, plus exactly Northwind Traders.
- Automatic (the default): a report that had 'Allow Filter Prefixes' switched on keeps exactly its older '+ & -' behavior, and every other report reads operators exactly as Data-aware does.
- Data-aware (all operators): a leading operator character is only read as an operator when the whole term is not itself one of your values, so a customer really called '-5 Discount Co' is left alone, as are negative numbers, Excel exports that begin with '=' and file paths that begin with '~'. Wrap a term in double quotes to force it to be taken literally.
- Legacy (+ & - only): exactly the version 3.2 prefixes. Off: no operators are read at all.
-5 Discount Co adds that customer as it is (its pill has no badge), while =Contoso Ltd is read as an exact-value operator, because no customer is called '=Contoso Ltd'.

-The Contoso Group appears as 'The Contoso Group' with a '-' badge — and hovering the badge gives its meaning. Pills without an operator look as before, and the Text list styles show every term as typed.
The badge is a label, not a control: to change a pill's operator, remove the pill and add the term again with the new operator. The badges are controlled by 'Show Pill Operator Badges' (on by default) and 'Pill Operator Badge Color'.
With 'Show Operator Picker' on (off by default), a small button to the left of the entry text box sets the operator for the next value added, typed or picked: each click moves it along — a dot for none, then '=', '^', '$', '~' and '-' — and it returns to none after each add unless 'Operator Picker Is Sticky' is on.

More detail
- The operator picker applies to a value picked from the suggestion list as well as to a typed one. A picked value is always taken as that value, even one that begins with an operator character; one that is itself wrapped in double quotes ("Classic", quotes included) is added quoted once more, so it keeps its quotes.
- Choosing another operator while text is typed re-applies that text with the new operator, and leaving the entry text box without adding the text keeps that filter, operator included.
- An exclusion subtracts from what the other terms include, as it always has: a list holding only
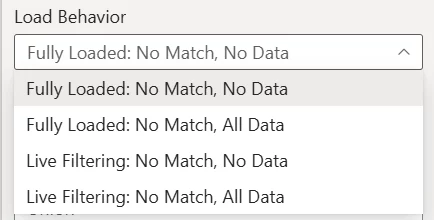
-Contososelects nothing, so under the default 'Load Behavior' the report shows no data. To show everything except some values, use 'Filter Mode' = Exclude (or the include / exclude button). - Under 'Only Allow Exact', an operator overrides exact matching for its own term: '^', '$' and '~' match as they would under contains matching, and '=' stays a whole-value lookup. '-' then excludes by exact value unless a match operator follows it (
-^Contoso), and '+' and '&' have no effect. - While data is still loading, the visual cannot yet tell whether a term is one of your values, so Data-aware reads the operator.
- The operator picker appears only with 'Support Multiple' on and 'Term Operators' reading the full operator set. With 'Allow CSV Entry', its operator applies to every comma-separated term of the entry.
- 'Show Pill Operator Badges' and 'Show Operator Picker' are under Formatting → Display & Layout; 'Pill Operator Badge Color' is under Colors → Buttons, Links & Pills.
Match Reasons in the Pick List
Paste Report
More detail
- No report appears for a single term, for typed text or for picks from the pick list.
- A term that matched but did not take effect — removed by a '-' term, say, or past 'Maximum to Filter' — says so, and the summary counts it as not applied. With 'Paste Report Lists Exact Terms' on, Details lists the exact terms too.
- 'Paste Report Rows per Group' (25) caps each list in the details; the copy buttons always copy every term. 'Paste Report Auto-hide (seconds)' hides the report after a delay (0, the default, keeps it until it is closed).
- The report follows the filter, not the pick list: with 'List Not Fuzzy' on (the default), a misspelling the pick list would suggest is still unmatched, because the filter does not apply it. Prefix it with '~', or turn 'List Not Fuzzy' off, to let the filter accept it.
- While data is still loading, the summary says (index partial) and leaves out the terms it cannot yet vouch for, then updates when loading completes.
- Nothing about the report is saved in the Power BI report, and it never changes the visual's size: in a small visual the details open over the list. There, after a paste into the filter list, 'Summary and details' opens with just its summary line, so the details do not cover the list you are typing in; Details opens the rest.
- The auto-hide countdown pauses while the pointer is over the report or keyboard focus is inside it. Remove unmatched checks each term again against the data as it is at that moment, and never removes a term it cannot vouch for.
Unmatched Terms
- 'Unmatched Term Style' (Formatting → Display & Layout), for the Pills style: 'Dashed border' draws the pill's border dashed, in the pill's text color, and 'Dashed border + strike-through' also strikes out its text. The text itself is never faded: it keeps the color every other pill has, so a marked pill stays just as readable. While any pill is marked, a Remove unmatched button under the list removes them all.
- 'Show Unmatched Terms Line', for the Text list styles: a line under the list such as 2 terms match nothing under the current filters., with the same Remove unmatched button.
- 'Remove Unmatched When Adding' (Data and Interaction → Multiple Values): a term that matches nothing at the moment it is added is dropped straight away, and a message says how many were dropped.
More detail
- With 'Allow Tooltips' on, hovering a marked pill says No rows match under the current filters, and a screen reader always hears it. The Remove unmatched button is not shown when 'Filter Text Read Only' is on, and the line's wording can be changed under Message Text Overrides.
- A term is judged exactly the way the filter judges it, so every matching setting applies. Excluding ('-') terms are never marked, and nothing is marked while 'Filter Mode' (or the include / exclude button) is Exclude.
- While data is still loading, after a cancelled load, when the visual has reached its capacity, or when the other filters leave the visual no data at all, it cannot know that a term matches nothing, so nothing is marked or dropped.
- 'Remove Unmatched When Adding' checks only the terms being added; a term already in the list is never removed.
Also Search: One Box, Several Columns
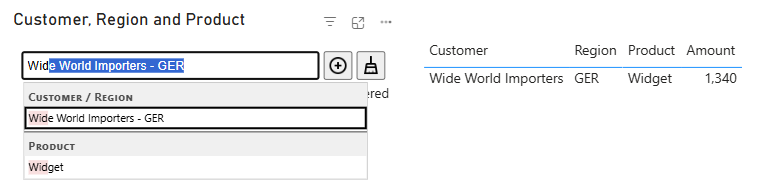

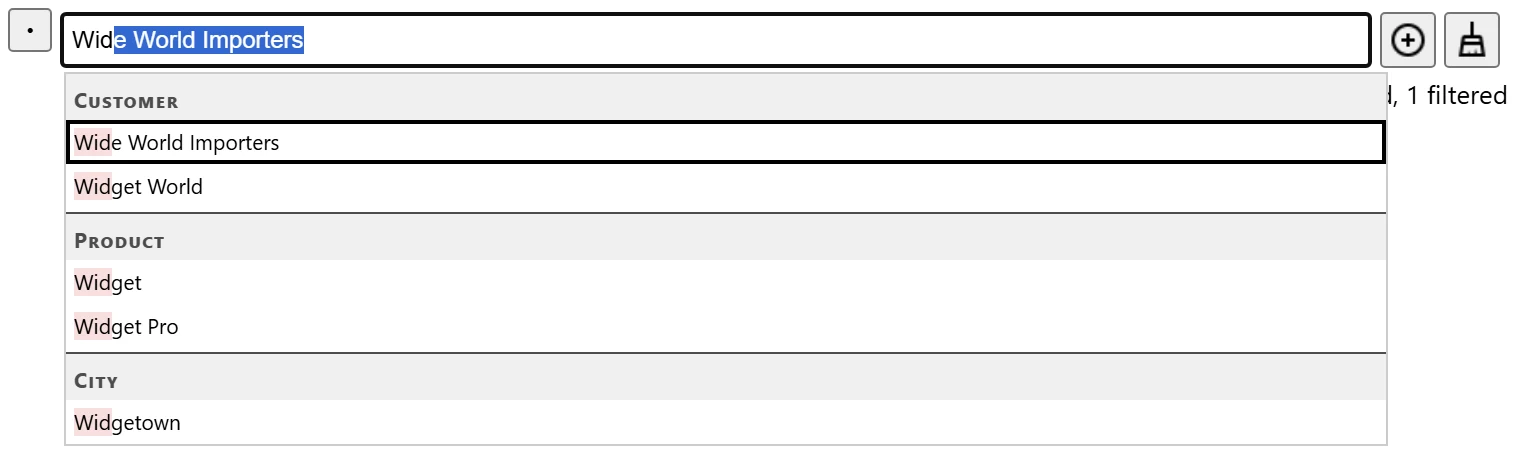

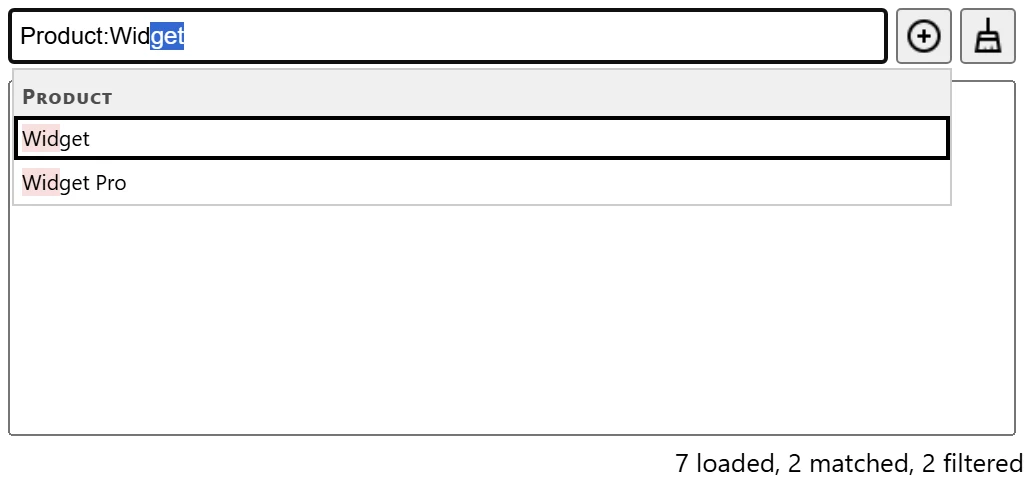
Product:wid searches Product only, and operators go after the colon (Product:-Widget).
The column name can be typed in upper or lower case, in the entry text box or in the Text list, and it is recognized whatever 'Term Operators' says.
More detail
- 'Group Headers' (on; turned off, a suggestion's column name follows it in muted text instead), 'Matches Shown per Column' (5, so one column cannot push the others out of the list; 'Matches Shown' still limits the whole list), 'Value Source First' (on; turned off, the column with the closest match to what you typed is listed first) and 'Show Column on Pills' (on; hover the column name on a pill to see which column it filters).
- A screen reader hears a suggestion's column after its value; the headers themselves are not read as options. With the 'Native (can overflow the visual)' list placement the browser draws the list, so there are no headers: each Also Search suggestion carries its column name instead.
- An Also Search column can come from another table than the Value Source, such as a related Products table's Category, and a number column works too. With several columns in the Value Source, the Value Source keeps its combined filter and each Also Search column adds its own; Exclude is still refused for such a Value Source (the visual says so), while the Also Search columns are still excluded.
- A column with more values than the visual can hold is searched only in part, and a message names it.
- A term typed and added without picking filters the Value Source, as before, unless it is exactly a suggestion shown under another column's header. The Text list shows the full term (
Product:Widget), and renaming a column in the field well keeps its terms on it. - Each column is matched against its own values with every matching setting, 'Filter Mode' and the include / exclude button apply to all of them, and 'Maximum to Filter' applies to each column's filter.
- Because the columns combine with AND, terms aimed at one column that match nothing leave the report with no data under a 'No Match, No Data' 'Load Behavior'; under 'No Match, All Data' that column is simply not filtered.
- Secondary Values, Sort Order, Additional Tool Tips, Filter Default and blanks stay with the Value Source, 'Add All Loaded' adds Value Source values only, and date or time columns placed in Also Search are not searched.
- The visual receives one row per combination of Value Source and Also Search values, so loading takes longer on large tables, a Secondary Value that is a measure is combined by 'Secondary Aggregation' (right for a sum, not for an average or a distinct count), and a Sort Order measure and Additional Tool Tips are taken from the first combination loaded.
- A report saved with Also Search terms and opened with a version before 6.0 reads a term such as
Product:Widgetas a Value Source value.
Quick Picks and Recent Searches
Key accounts=Contoso Ltd|Northwind Traders|Blue Yonder Airlines
Contoso family=Contoso
Contoso, not the group=Contoso|-The Contoso GroupWidgets=Product:Widget) work here too.
'Quick Pick Action' decides whether a click replaces the filter list ('Replace', the default) or adds to it ('Add'), and with 'Show Save Quick Pick' on, a '+' at the end of the chip row saves the current list as a new quick pick.
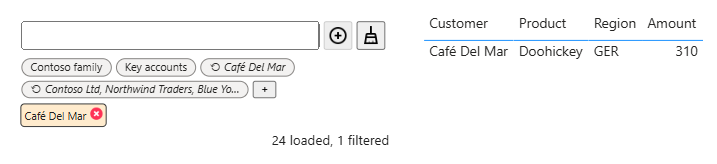
=Two picks=Northwind Traders|Proseware: its chip puts back exactly the list that was saved, the way a recent search does, instead of adding the terms one by one (with 'Expand on Add' on, adding them again would bring back values that had been removed). Delete the leading '=' to have its terms added like typed terms instead.
More detail
- Terms are separated by '|' because commas appear in values too often. To put a '|' inside a term, wrap the term in double quotes; the quotes are an escape whenever the full operator set is read ('Term Operators' Data-aware, or Automatic in a report that never switched on 'Allow Filter Prefixes').
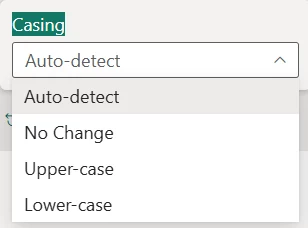
- Each term goes in exactly as if it were typed and added, so 'Expand on Add', 'Only Allow Exact', 'Casing' and the other add settings apply, and the filter is applied once, after the last term. 'Replace' first clears the filter list and the entry text box.
- Only the first '=' ends the name, so a term may itself begin with '=' (
Exact==Contoso Ltd), and a name that contains '=' can be wrapped in double quotes. Blank lines, and lines without a name or without any terms, are ignored. - A quick pick saved with the '+' button is saved with the report in Power BI Desktop. A viewer in the Power BI Service cannot change the report, so there the new chip lasts only for that viewer's session. A term that cannot be written into a line — one containing a line break or an unquoted '|' — is left out of the saved quick pick, and a message names it.
- The chip row wraps onto a second line and then scrolls; in the Pills style the pills give up its height. 'List Spacing' applies above the row as well as below it.
- The chips use the filter list's font, and their colors are 'Quick Pick Background Color' and 'Quick Pick Text Color' (Colors → Buttons, Links & Pills); left unset, they follow the report theme when 'Follow Report Theme' is on.
More detail
- A search is remembered when it is committed with at least one term - except one committed while the column is still loading under a 'Fully Loaded' Load Behavior, and a very large one (more than about 4,000 characters of terms, typically a big paste or an expanded list). Refining a search updates its entry rather than adding one per step, and a search identical to one of your quick picks is not kept as a recent, so clicking a quick pick never pushes a viewer's own searches out.
- A search is committed by Enter, Add, a pick from the suggestion list, a paste into the Text list, leaving the Text list after editing it, removing a pill or clicking a chip; Reset starts a new search.
- Recents are kept per table and column, so reports that filter the same column share them. A recent search that used an Also Search column (a
Product:Widgetterm) appears only in visuals that search that column too. Power BI clears a visual's stored data 29 days after it was last written.
Copy as DAX
'Shipments'[Customer] IN { "Contoso Ltd", "Contoso Northwest", "The Contoso Group" }, so CALCULATE ( COUNTROWS ( Shipments ), … ) with that pasted in counts those customers' rows.
![Auto-complete Filter: the DAX button in the entry row, and the copied predicate for the two selected customers, 'Shipments'[Customer] IN { ... }, next to the filtered table](/img/learn/autocomp-v6/copy-dax.webp)
More detail
- Terms that matched nothing are not included. An exclude filter is wrapped in
NOT ( … ), and several Value Source columns give the tuple form. - With Also Search columns, every filtered column's predicate is copied, joined with
&&. That works in FILTER, in measures and in calculated columns, and in CALCULATE when the columns come from one table (otherwise split it into one argument per column). - While the visual is blanking the report ('Must Select' with nothing entered, or a 'No Match, No Data' 'Load Behavior' with nothing matched) it copies
FALSE(), orNOT ( FALSE() )in Exclude mode. - When nothing is filtered, nothing is copied and the message says so. The confirmation follows 'Copied Message Duration' and is read out by screen readers; a copy the browser refuses shows 'Failed to copy to clipboard.' With 'Show Links' on, the button is a 'Copy filter as DAX' link.
- The button sits to the left of the entry text box and follows 'Button Background Color' and 'General Style' like the other entry-row buttons. Tab reaches it right before the entry text box (after the operator picker).
Accessibility
- The entry text box, the pick list and the filter pills describe themselves to screen readers with the standard combo box, list box and list roles, and the highlighted suggestion is announced, with its position, as you arrow through the list. Match counts and messages are read out as they change (the count is not read while data is still loading, nor again on each arrow key).
- The active suggestion — the one 'Attempt Completion' has filled into the entry text box, or the one the arrow keys moved to — is outlined in the list, so the row Enter adds can be seen as well as heard. The keys work as before.
- Each pill's remove button is now a real button: Tab moves through the pills, and Enter, Space, Delete or Backspace removes the focused one, after which focus moves on to the next pill (or the previous one when the last pill is removed, or the entry text box when none is left). Before 6.0 it responded only to the mouse. Escape closes the suggestion list without leaving the entry text box.
- The entry text box and the Text list are named for screen readers (the box after the visual's in-frame title, or as 'Search' and the Value Source's name), and a pill's operator badge or a suggestion's match-reason mark is read out as words after the value — 'Fabrikam Supply, Excluded' — rather than as a symbol. Pressed from the keyboard, the operator picker keeps focus and announces the operator it moved to.
- The operator picker and the DAX button sit left of the entry text box, and Tab reaches them right before it; every control that was there before 6.0 keeps its place in the Tab order.
- Quick-pick chips and the paste report's controls are buttons too: Tab reaches the chips after the buttons of the entry row, Enter or Space applies one and keyboard focus stays on the chip, and a recent-search chip is read as 'Recent search:' followed by all of its terms. The paste report's headings can be reached as headings, and an unmatched pill is marked by its dashed border and a sentence for screen readers, never by color alone.
- The loading spinner stops turning when the operating system is set to reduce motion.
- Text on filter pills and quick-pick chips meets the WCAG AA contrast level (4.5:1) in the default look and when following the report theme. Colors you set yourself are used as you set them, so choose ones that reach 4.5:1 as well.

Power Search Styling Presets
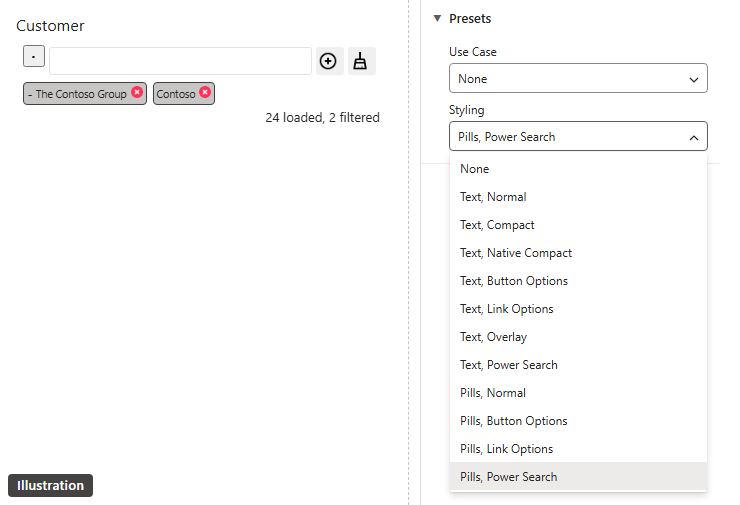
More detail
- The spacing is 'Container Padding' 5, 'Frame Title Padding' 0, 'Frame Title Font Size' 12 and 'Frame Title Font' Segoe UI Semibold. Like every styling preset, it also turns on 'Follow Report Theme' and sets 'General Style' to Native Slicer.
- A styling preset changes how the visual looks and what it shows, never what it filters: 'Support Multiple', 'Term Operators' and the matching settings are left alone. So the operator picker and the chip row appear only where 'Support Multiple' is on (the picker also needs 'Term Operators' reading the full operator set), and chips only once there are quick picks or recent searches to show.
- A preset is applied at the moment you pick it, not when the report opens. Once a Power Search preset has been applied, the report stores 'Styling' as None, so versions before 6.0 can still open it: the Styling box keeps showing the preset while the report stays open, reads None after it is reopened, and the settings the preset switched on stay as they are.
- 'Keep List Open' is not new, and it stays off by default. With 'Attempt Completion' on and 'Keep List Open' off, the suggestion list closes once typing narrows it to the single value the entry text box has filled in; the Power Search presets turn 'Keep List Open' on so the list stays up while you type and, with 'Support Multiple' on, after each pick.
- For an exact width match with the built-in slicers, also set the visual's own Padding to 0 under General → Properties → Padding, which a preset cannot change.
What Changes When You Upgrade from 5.x
- Operators, in a report that never used 'Allow Filter Prefixes'. A term that starts with + & - = ^ $ or ~ and is not itself one of your values is now read as an operator (
-Contosoexcludes Contoso), and a term wrapped in double quotes has its quotes removed (a value picked from the suggestion list that is itself in double quotes keeps them: it is added quoted once more). 'Expand Batch with Mappings' keeps such a term as it is instead of expanding it. Set 'Term Operators' to Off to keep the previous reading. (A report that did use 'Allow Filter Prefixes' keeps exactly its previous filtering while 'Term Operators' is Automatic.) - Pill badges, in a report with 'Allow Filter Prefixes' on. A pill whose term uses '+', '&' or '-' now shows the value with a small badge for its operator — 'Contoso' with a '-' badge for
-Contoso— instead of the raw term. Turn 'Show Pill Operator Badges' off to show the raw term as before. - Match reasons. Suggestions that matched by sound, by close spelling or on a whole word inside a longer value now carry a small mark ('Show Match Reason', Inexact only). Set it to Off for the previous look.
- Paste summary. After a paste of several terms into the filter list, or a comma-separated paste into the entry text box, a one-line summary appears under the list ('Paste Report', Summary with Details link). Set 'Paste Report' to Off for the previous look.
- Expand Batch with Mappings. With the paste report on, expanding several terms lists every term that matched nothing in the report, instead of naming only the first one in the message line. Set 'Paste Report' to Off for the previous message.
- Keyboard. Each filter pill's remove button is now a keyboard stop, so Tab moves through the pills of a Pills-style visual (Enter, Space, Delete or Backspace removes the focused pill), and Escape closes the suggestion list without leaving the entry text box.
- Suggestion outline. The suggestion the entry text box has filled in, or the one the arrow keys moved to, is now outlined in the suggestion list, so the row Enter adds can be seen as well as heard. The keys work as before.
- Single words under 'Only Allow Exact'. With 'Only Allow Exact' and 'Single-Word Token Match in Exact' on, a single word added from the entry text box is now accepted whenever that setting resolves it: it filters every value that contains the word as a whole word, as the same word typed into the filter list always did, instead of being refused as not an exact match when it matched more than one value.